LUMI-O Access and Authentication
Gaining access
To be able to use LUMI-O, you need to be a member of a LUMI project.
Authentication credentials
To connect to LUMI-O, one needs to create access credentials. These access credentials are valid for a pre-defined period of time. Note that if you are using the LUMI web interface, you can also create the access credentials directly in the web interface as described here.
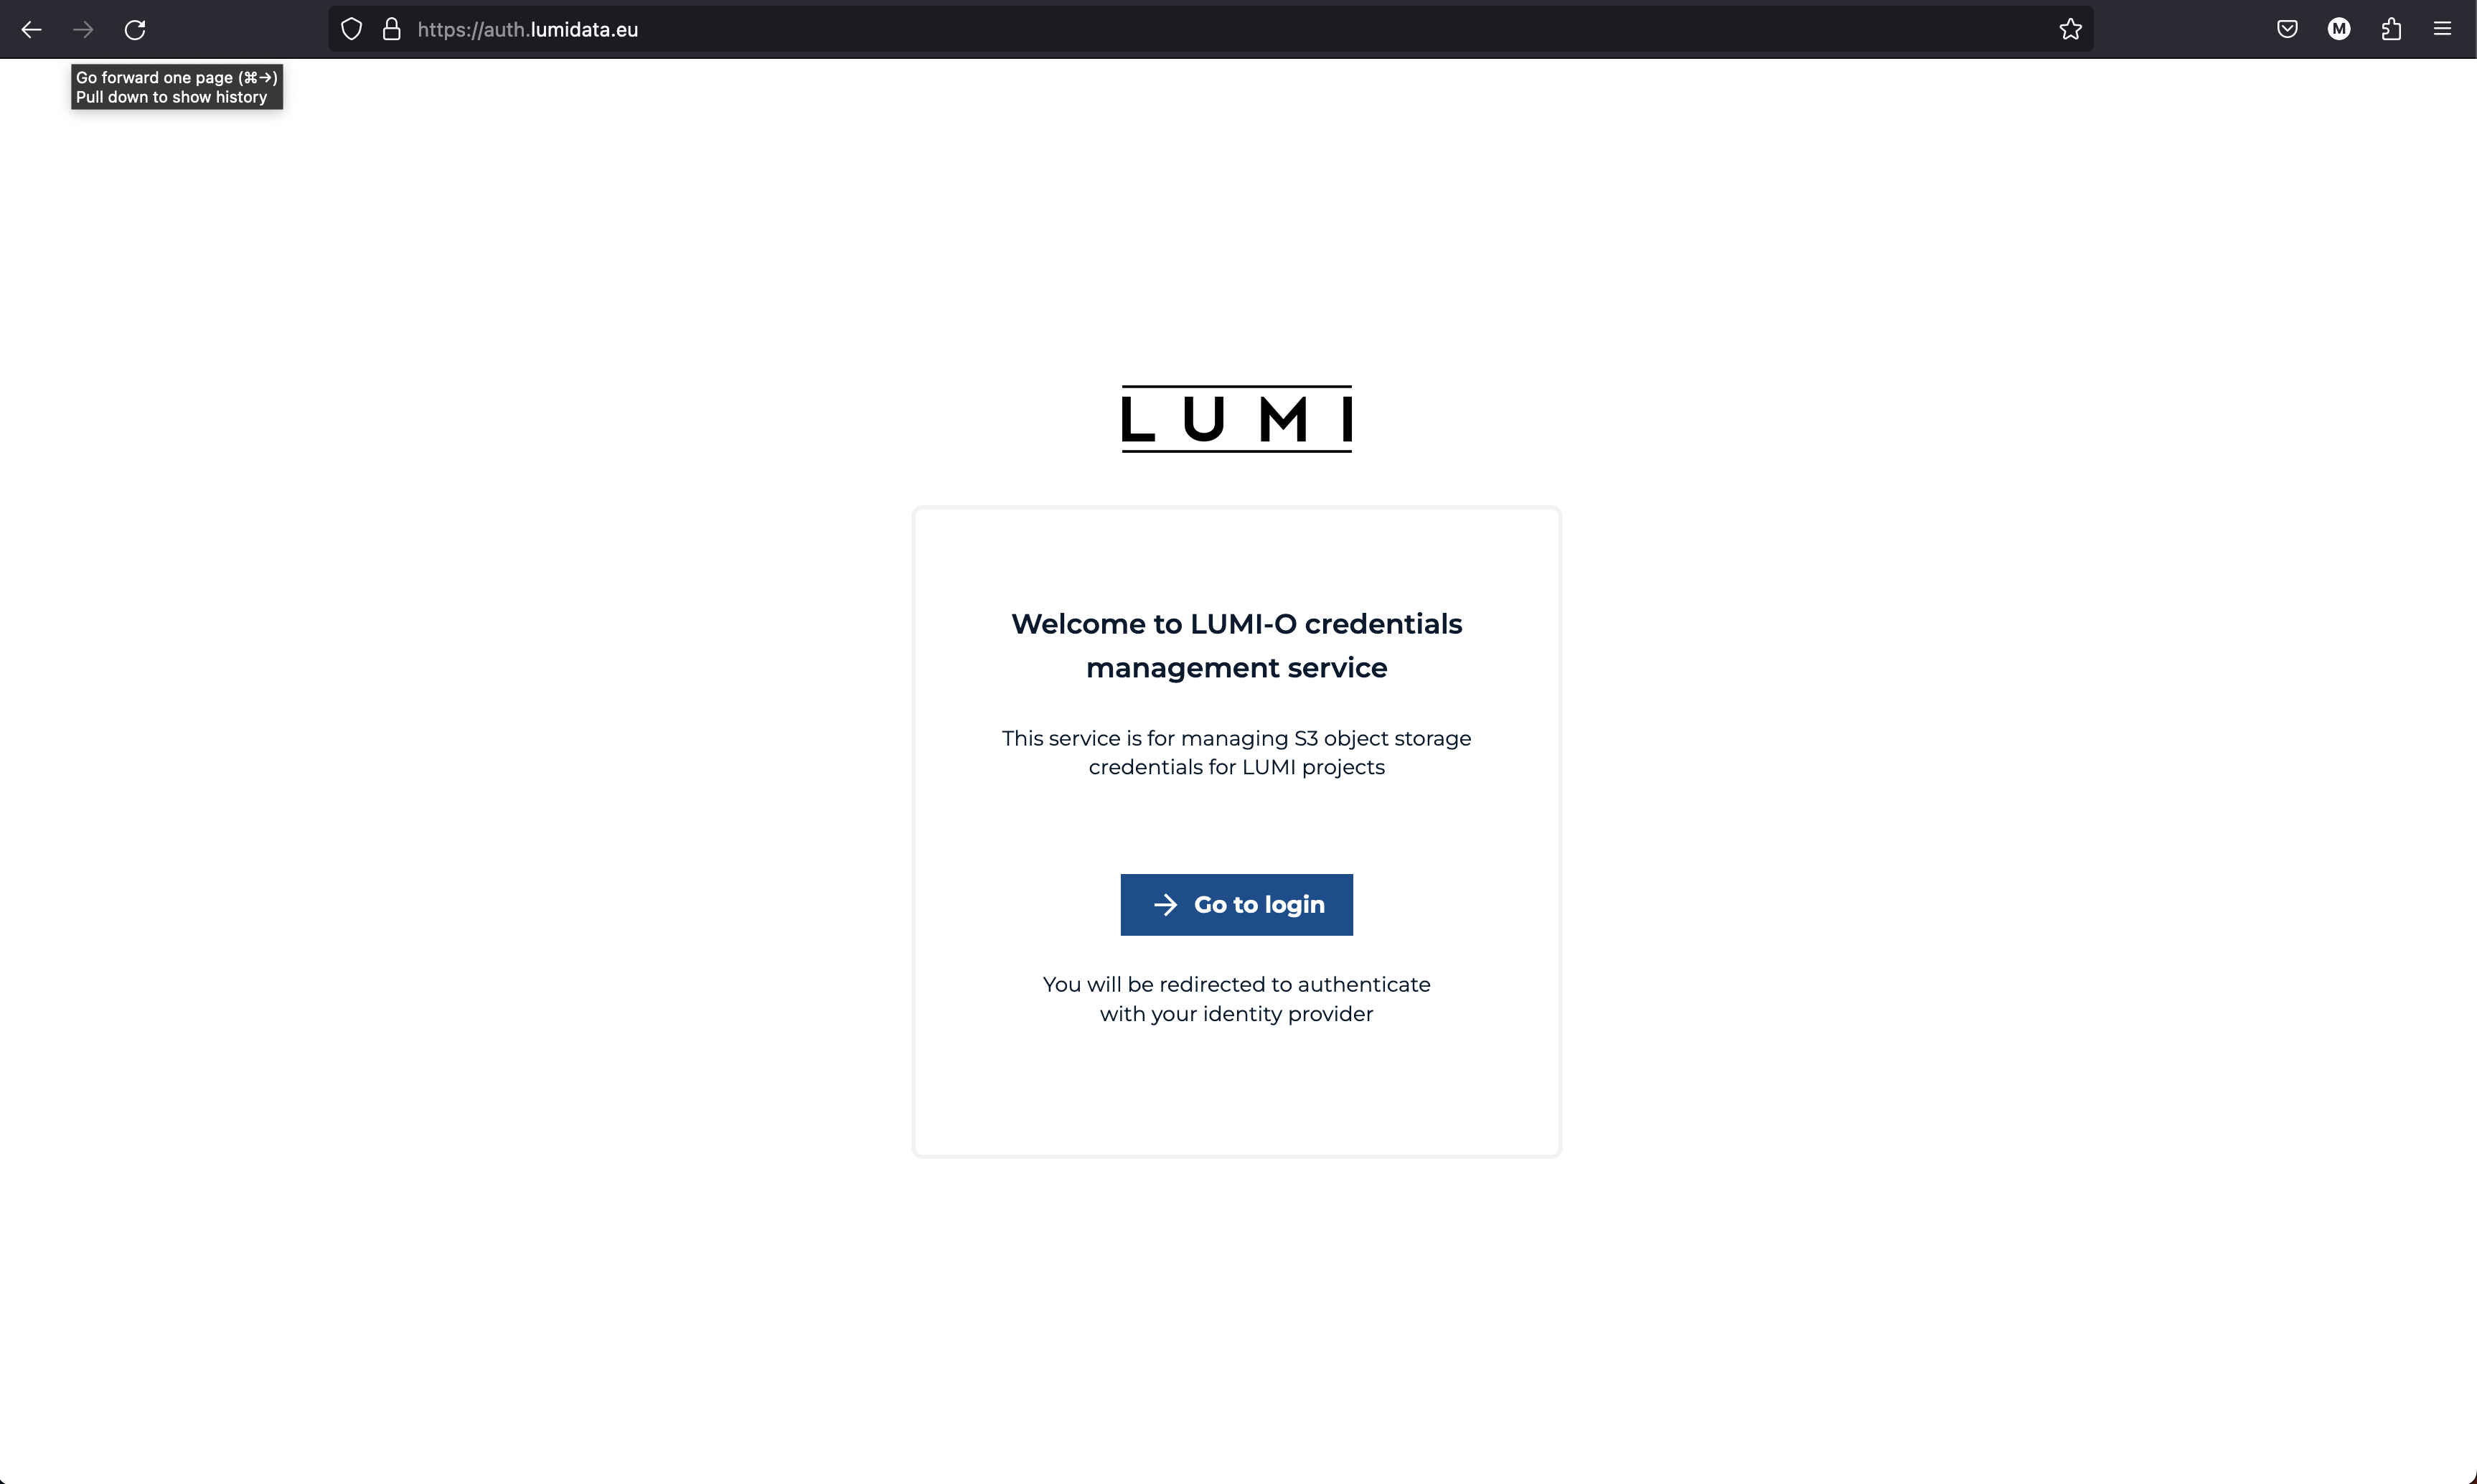
Go to LUMI-O credentials management service page. And click on "-> Go to login".
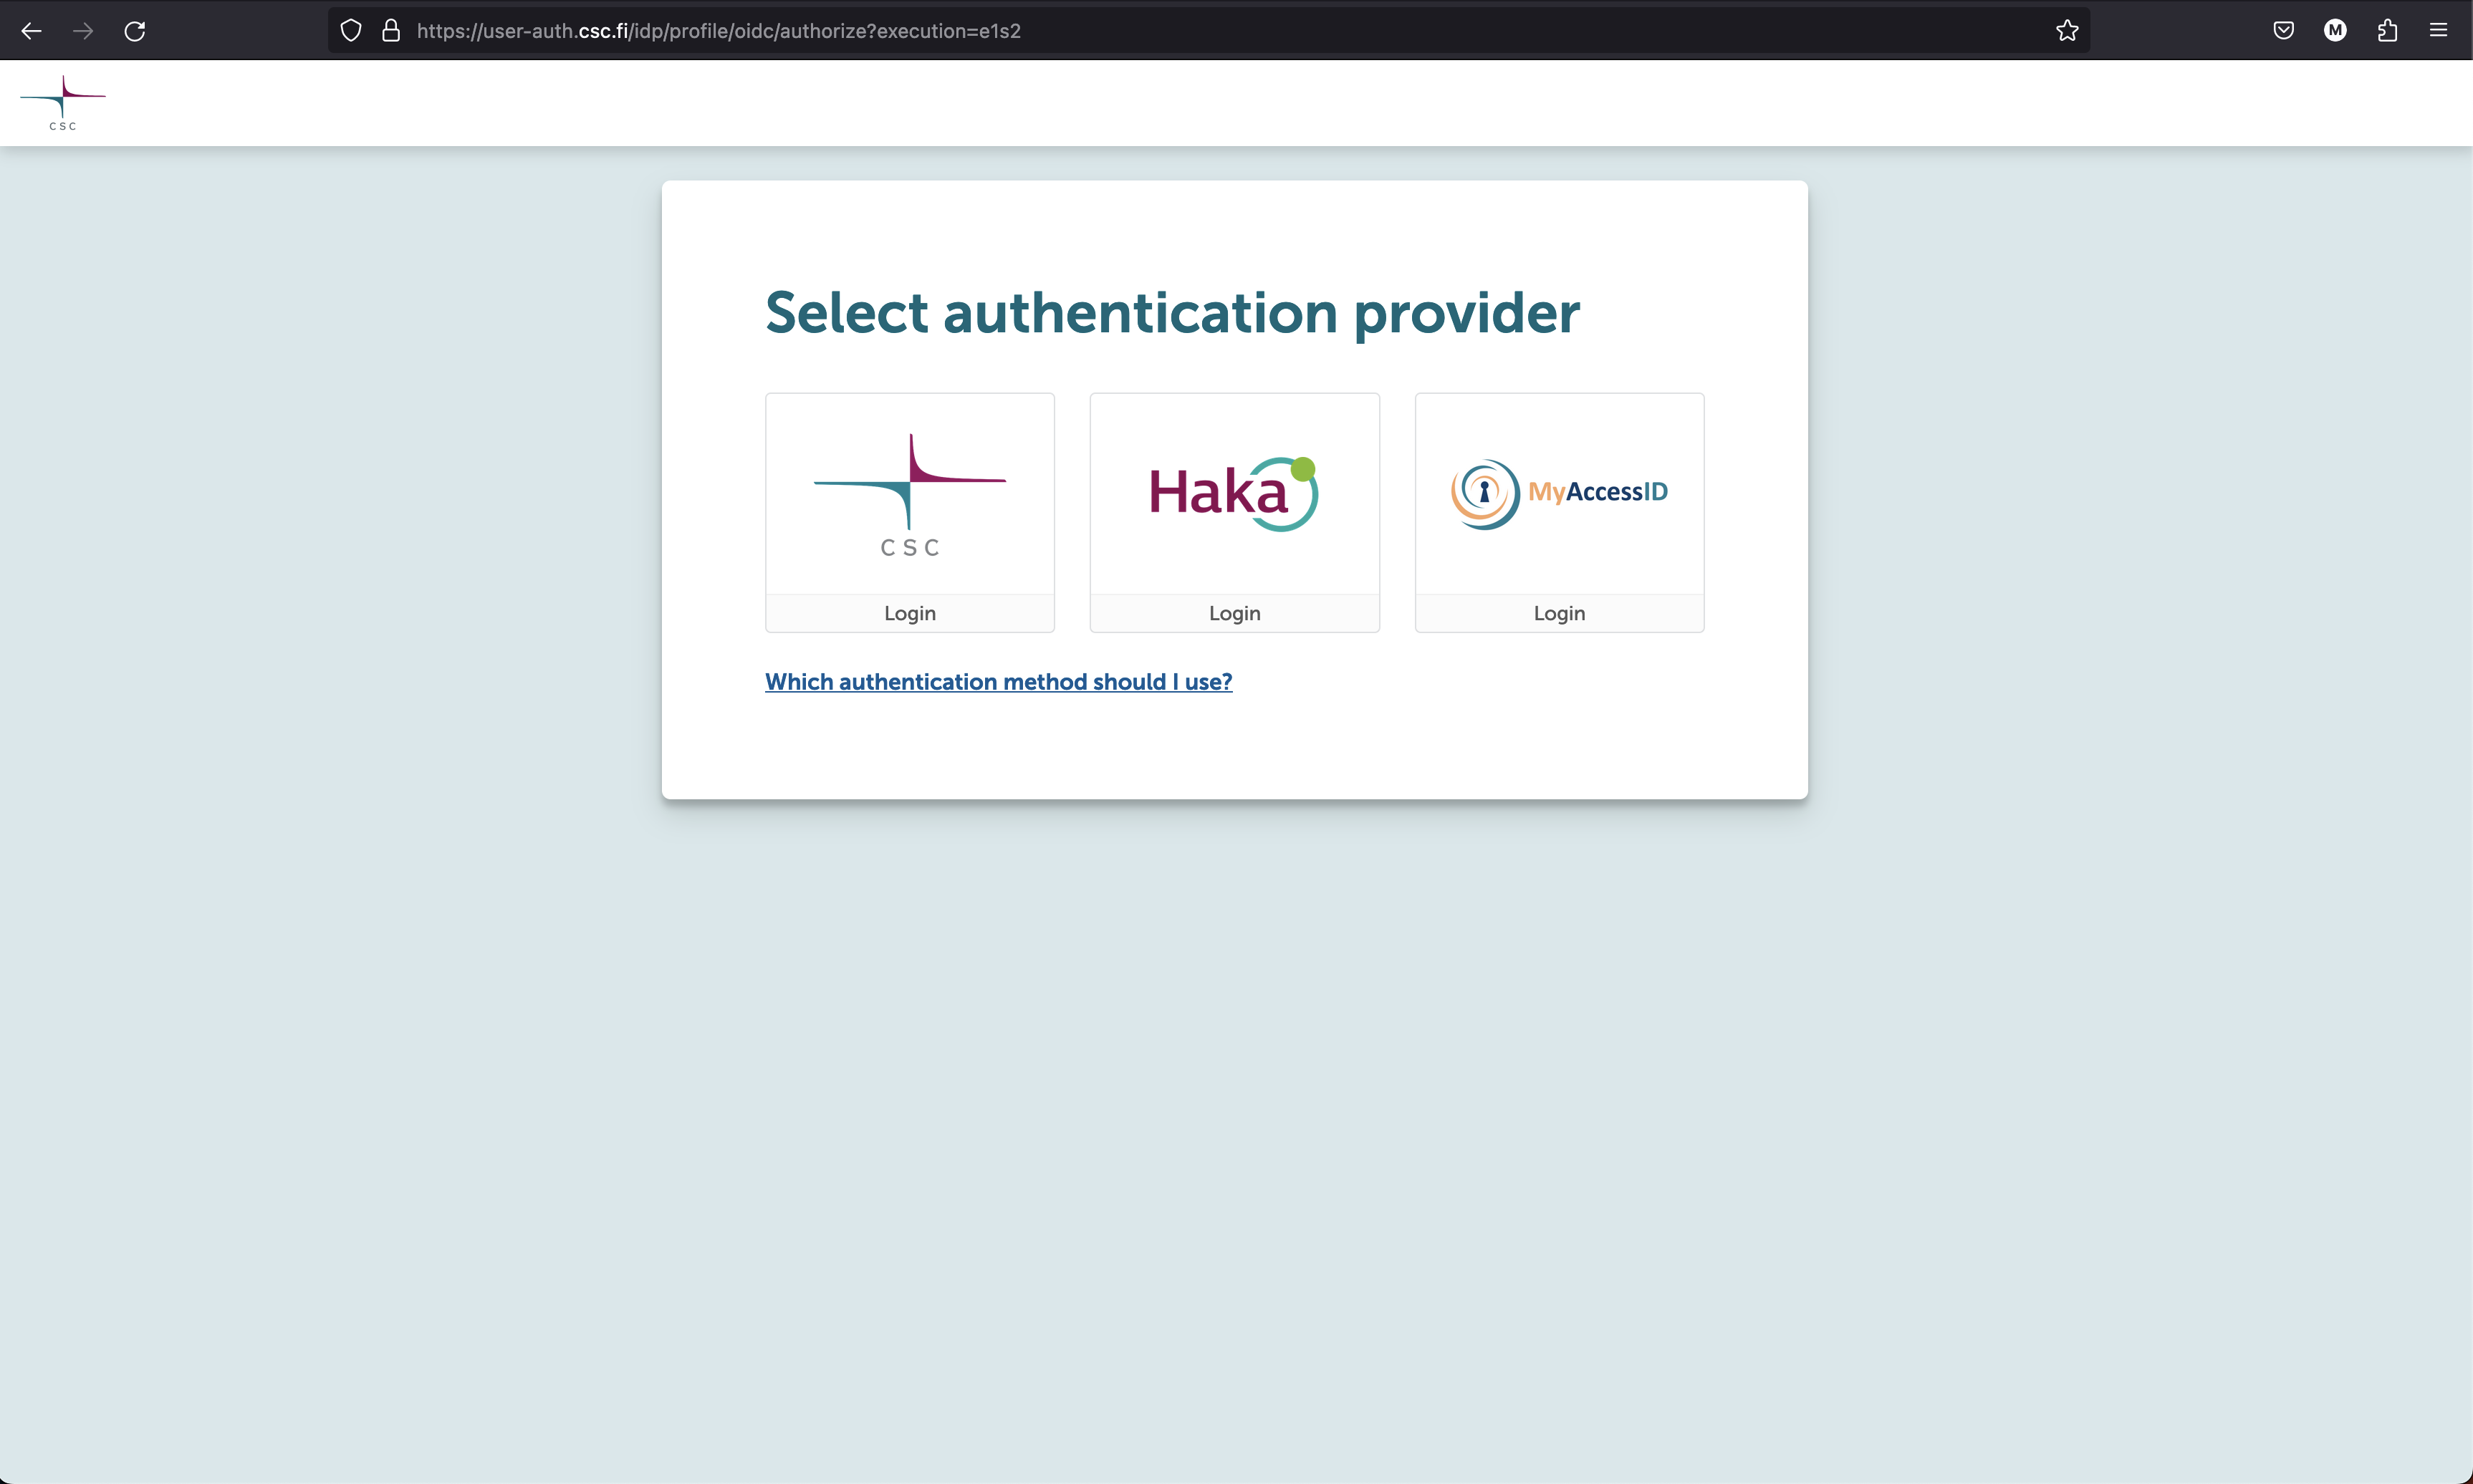
Choose the correct authentication provider which for most LUMI users is "MyAccessID" (users with a Finnish allocation can also use "CSC" or "HAKA"), and follow the authentication procedure.
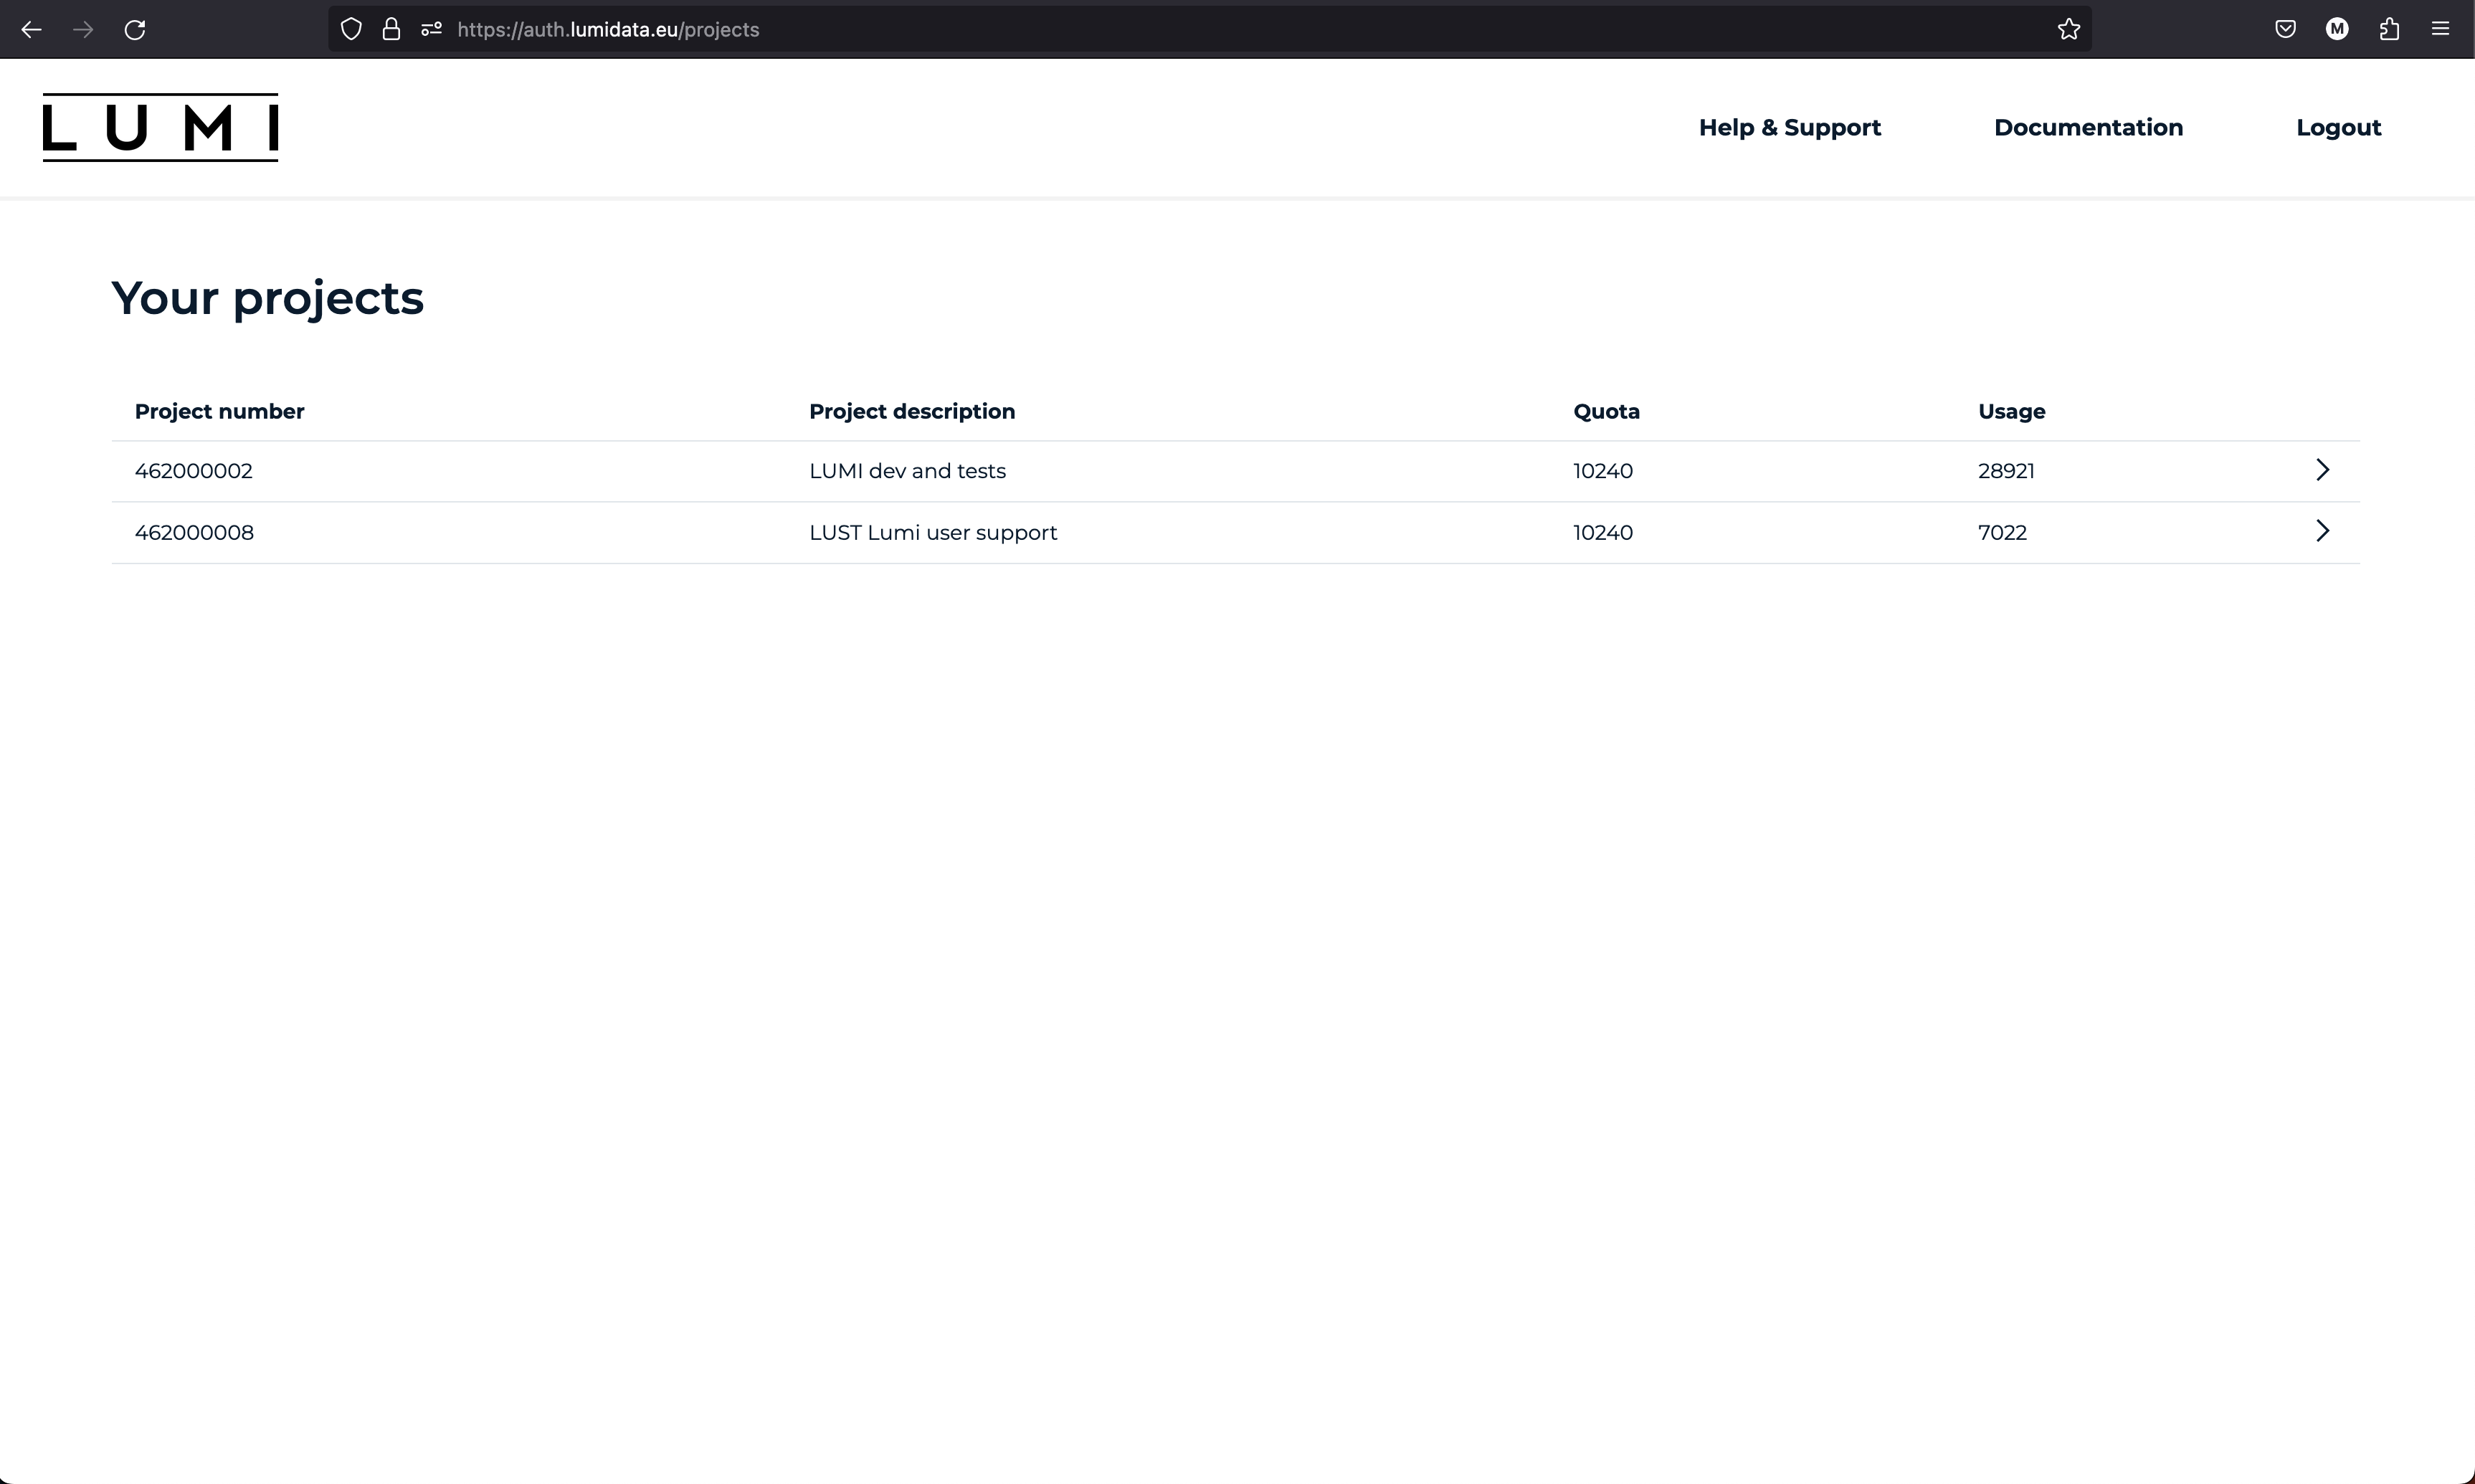
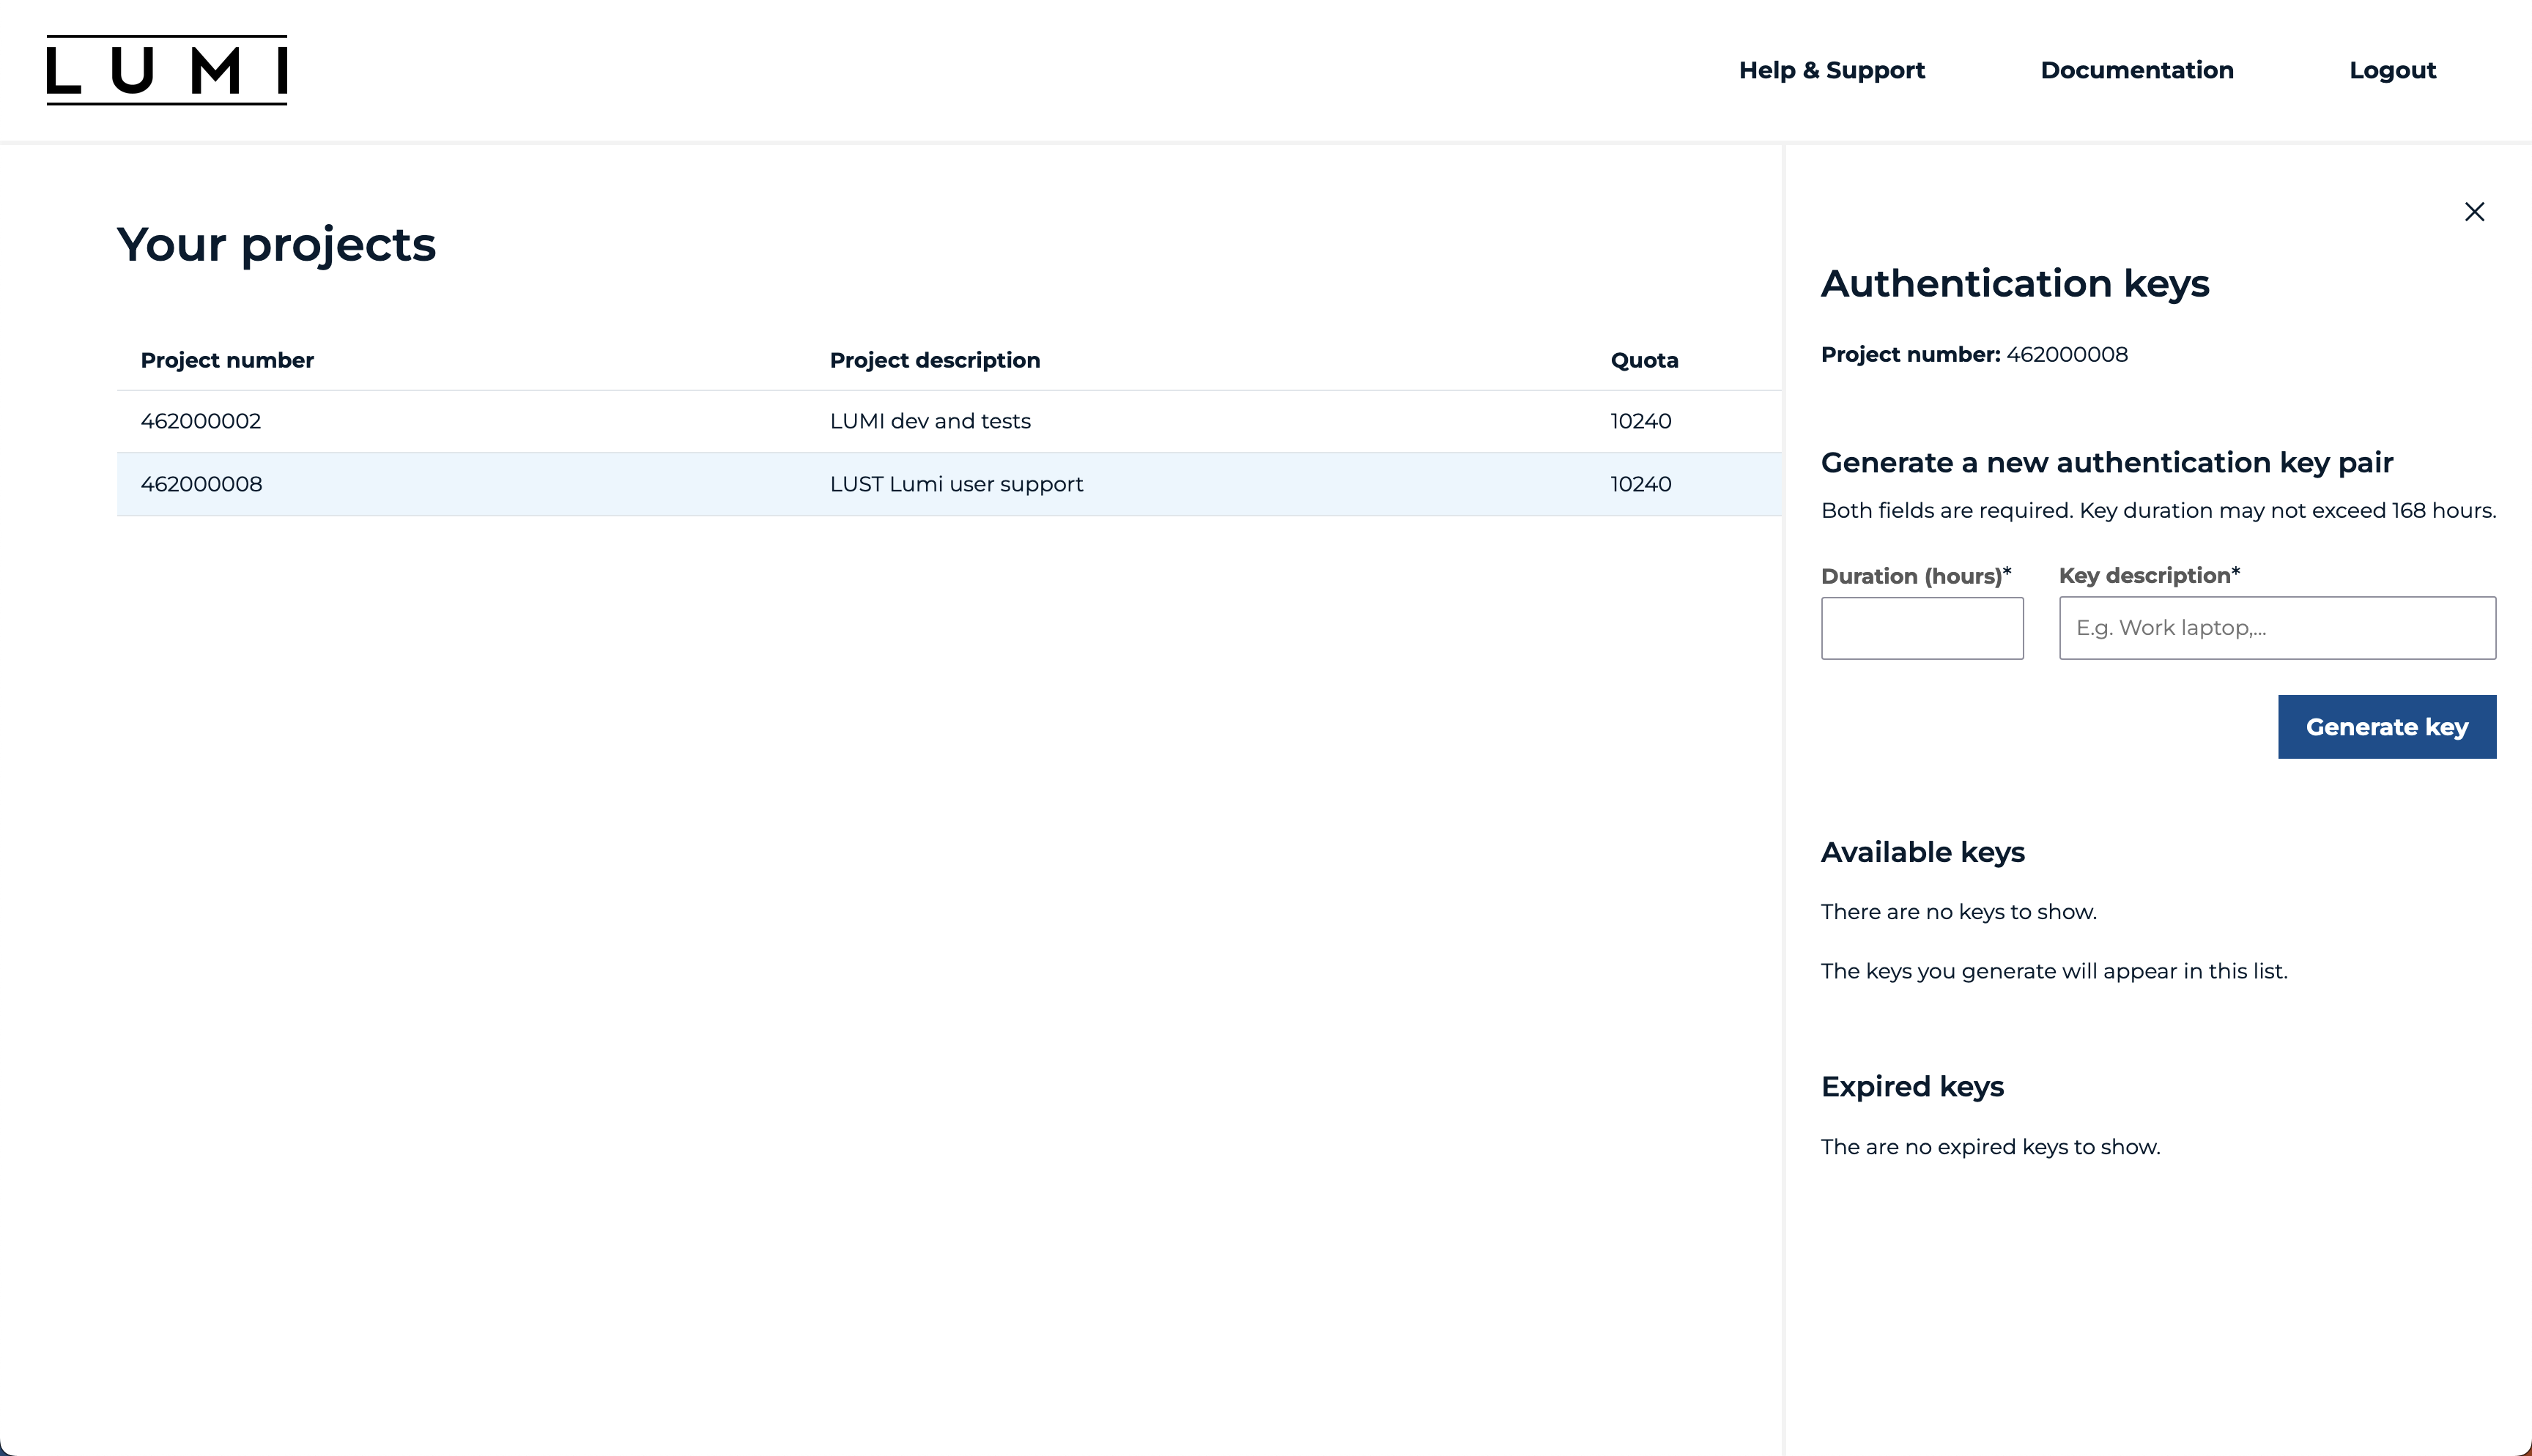
This page displays all the projects that are associated with your account. It shows the project number, project description, set storage quota for a specific project, and how much of the quota is used. Additionally, this page allows creating the necessary authentication keys, which are required for accessing the object storage.
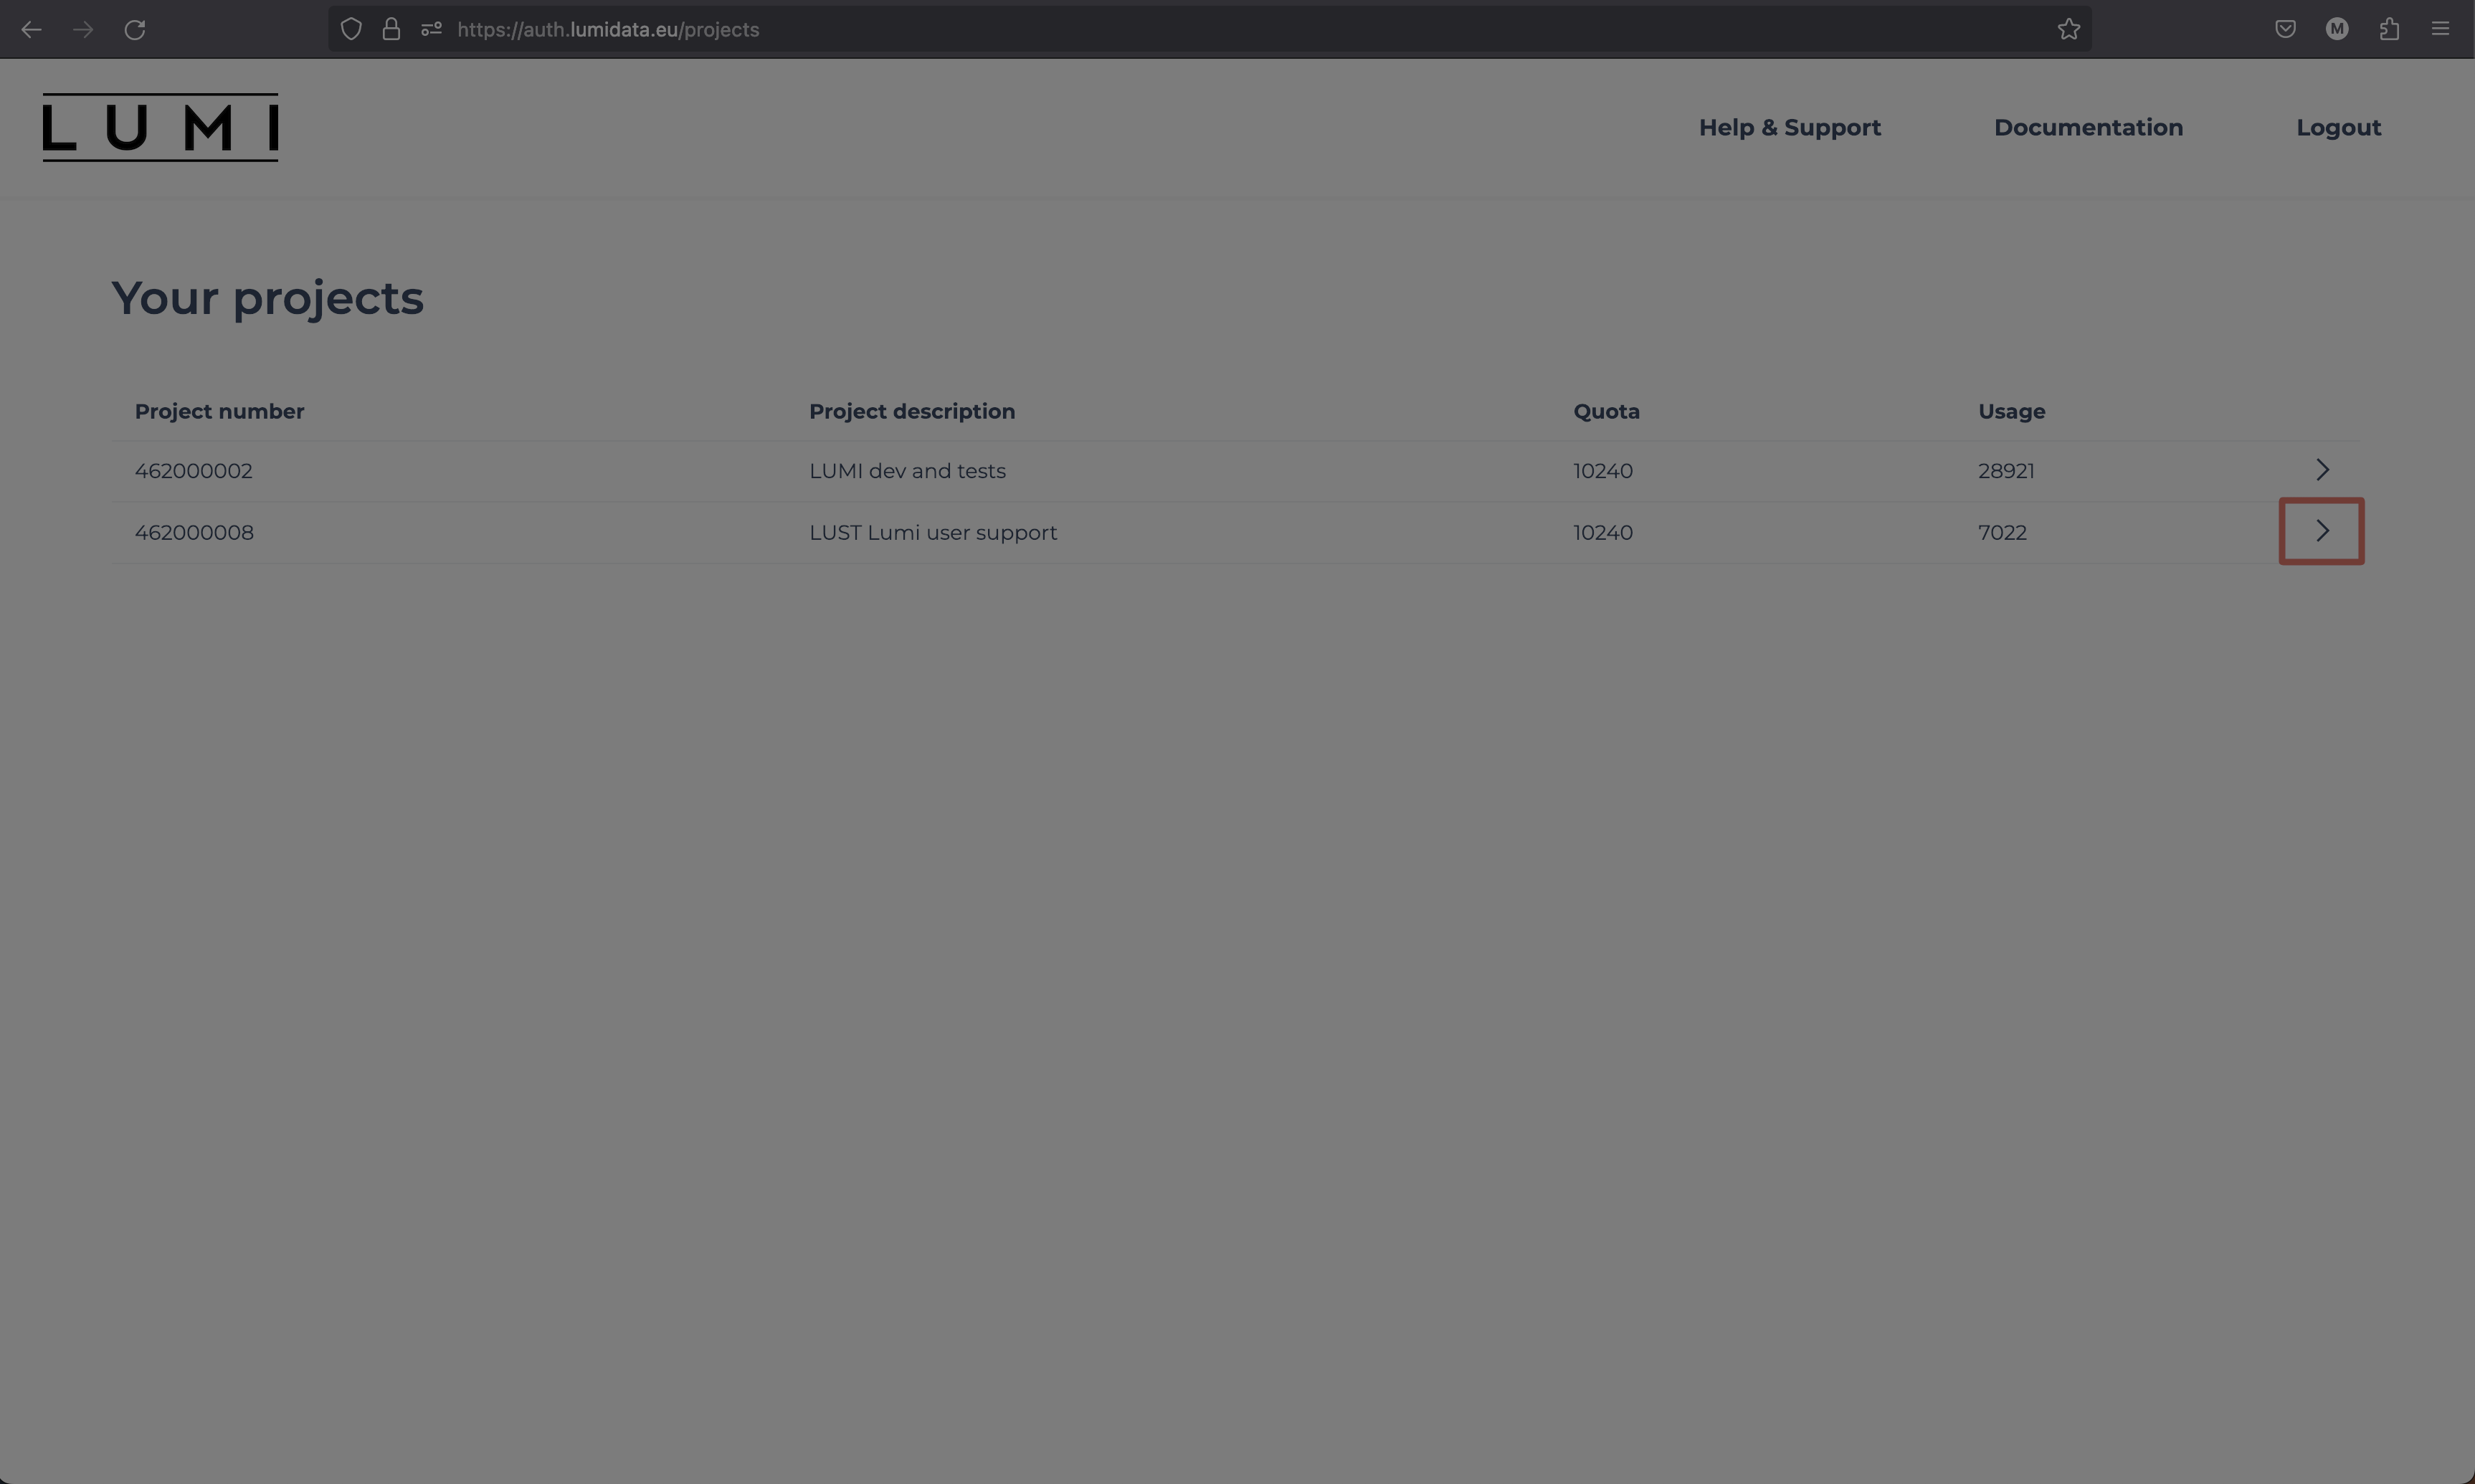
To create an authentication access key pair, open up the side menu from the rightward pointing arrow. In this example, we are opening the side menu for project 462000008, for which we will create the authentication key pair.
The side menu allows for the creation of access keys. To generate an access key "Duration (hours)" and "Key description" fields must be filled out.
Tip
With batch jobs, it's a good practice is to set the authentication key pair duration such that it covers the job walltime. This lets the job move the necessary data from LUMI-O to the scratch filesystem, perform the necessary calculations, and after finishing move the data back to LUMI-O.
The duration of the keys can also be extended later, as long as the key is still valid.
Tip
The key description should be something relevant to the task it is meant for, as that way it is easier to manage the created keys, should there be more than a few at the same time.
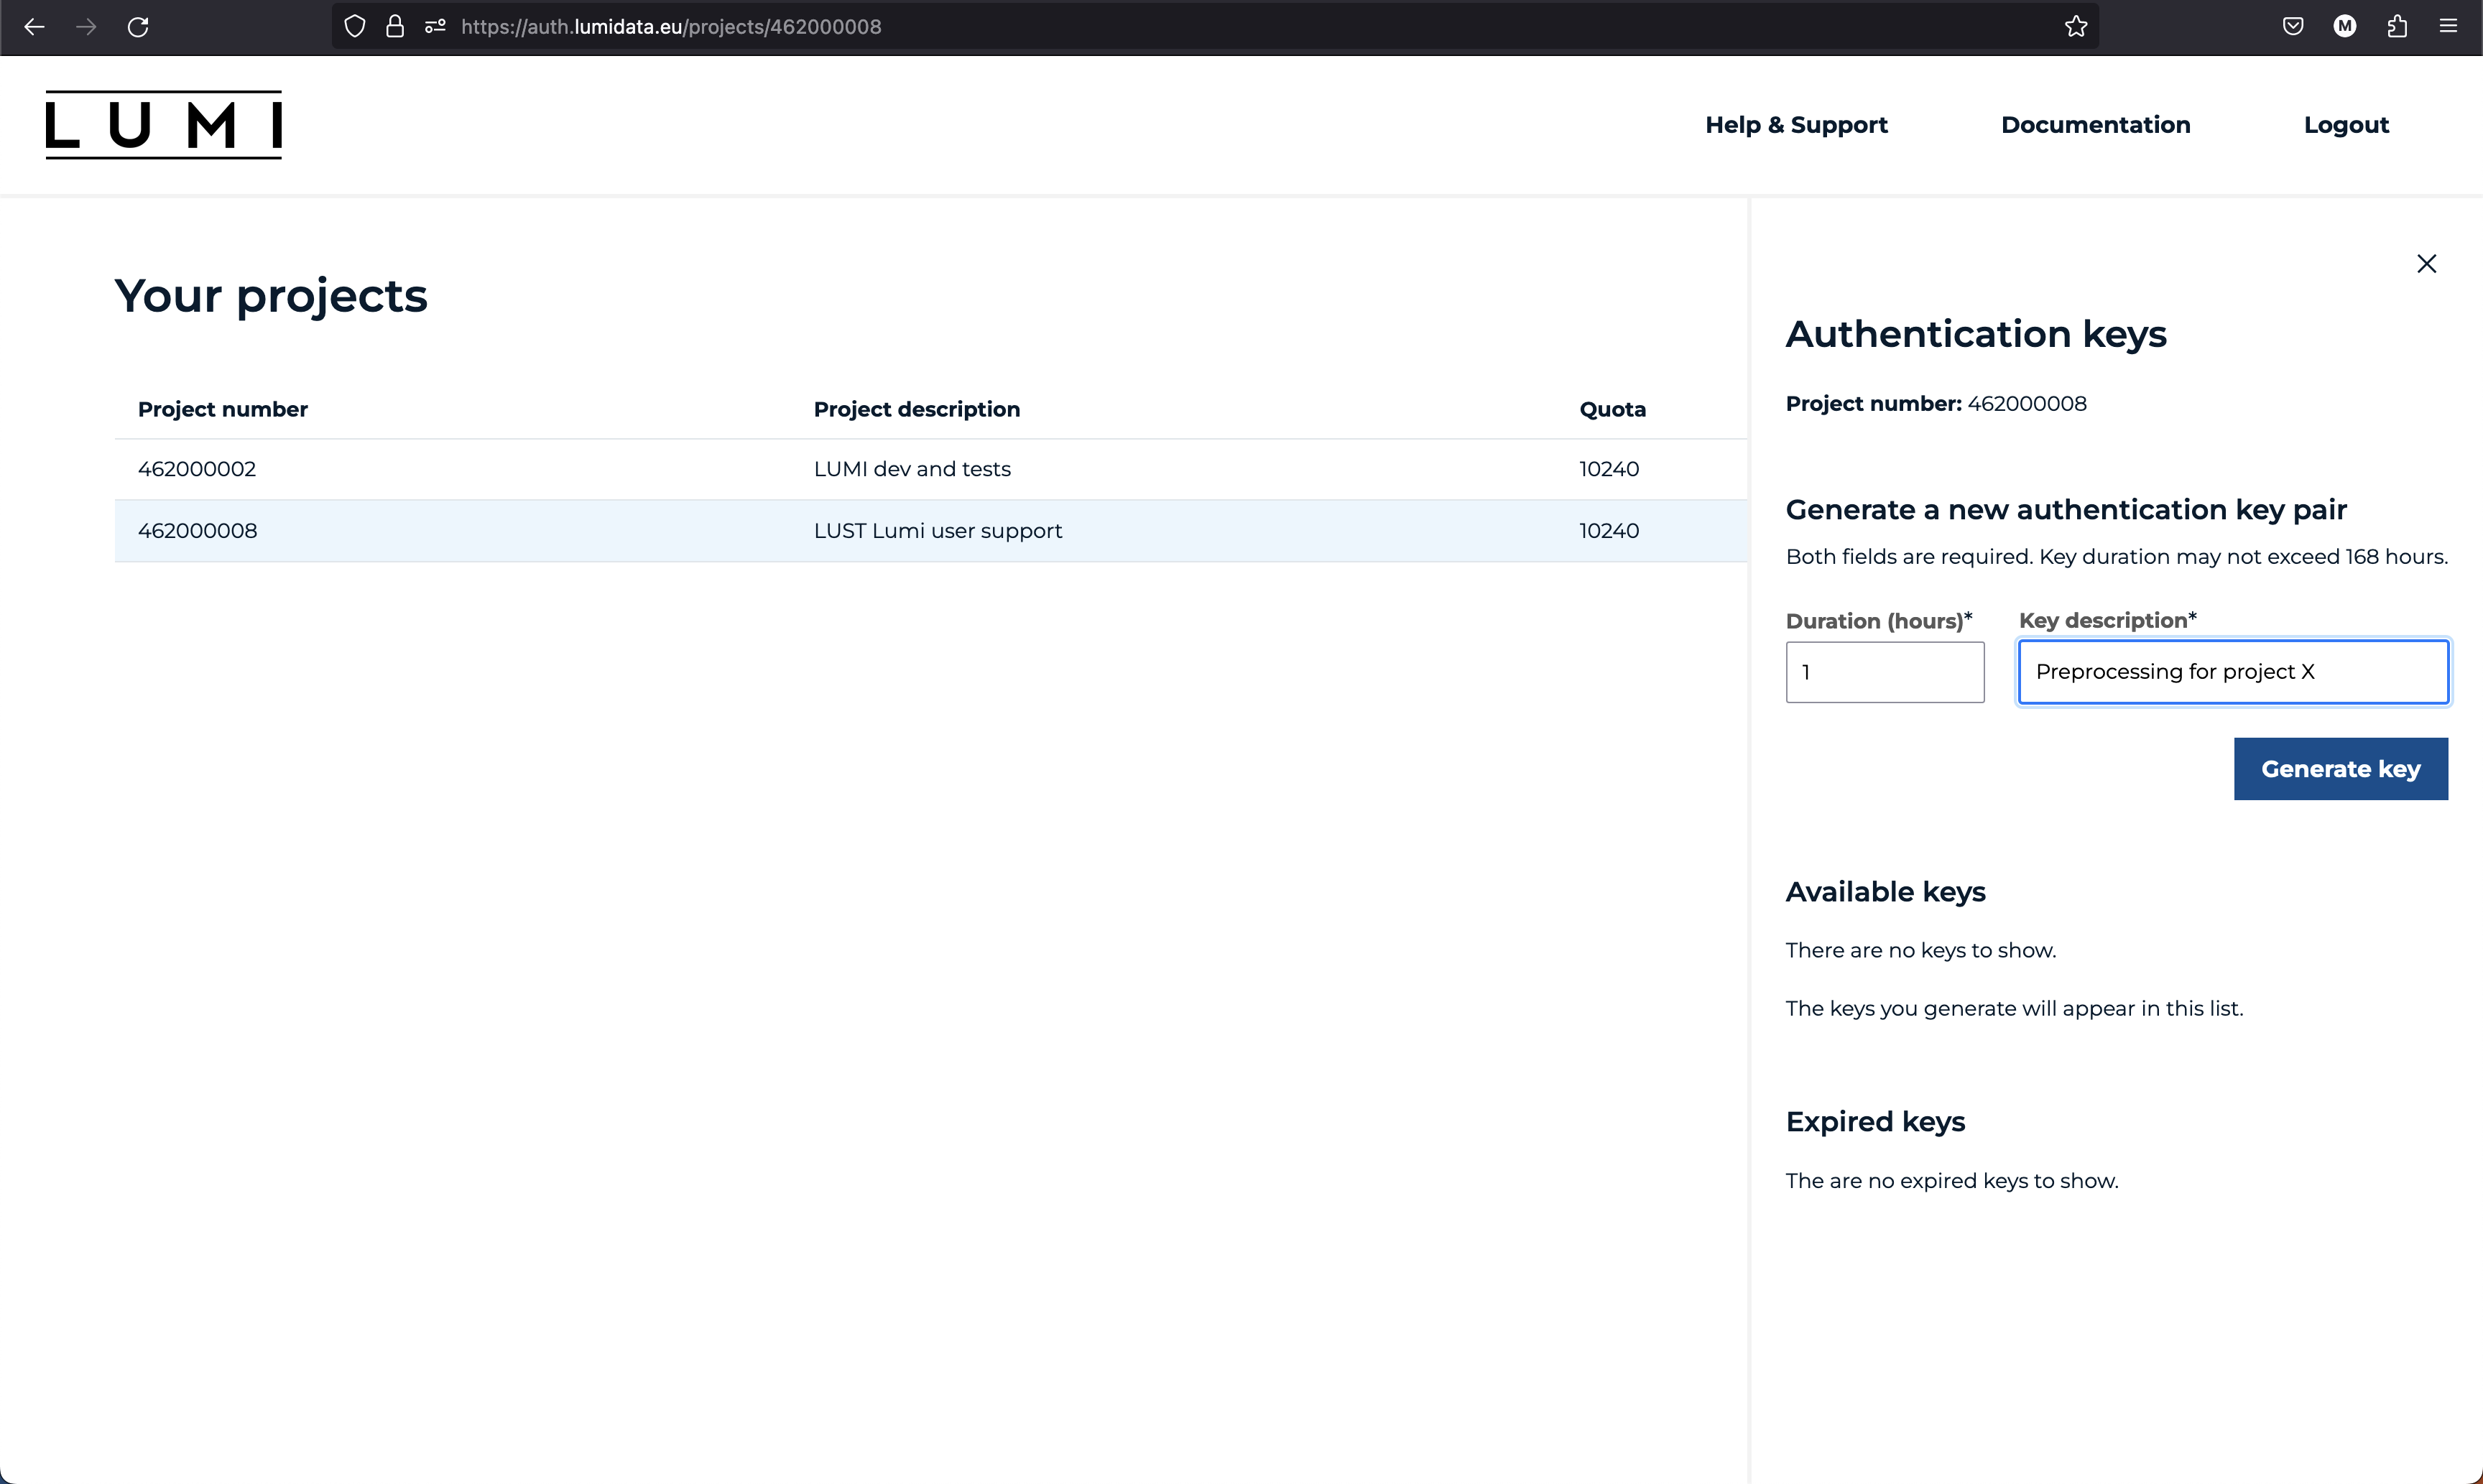
After the necessary fields are created, click on "Generate key". The generated key will appear in the side menu under "Available keys". The previously mentioned key description field is visible there, which makes it easy to distinguish between several keys.

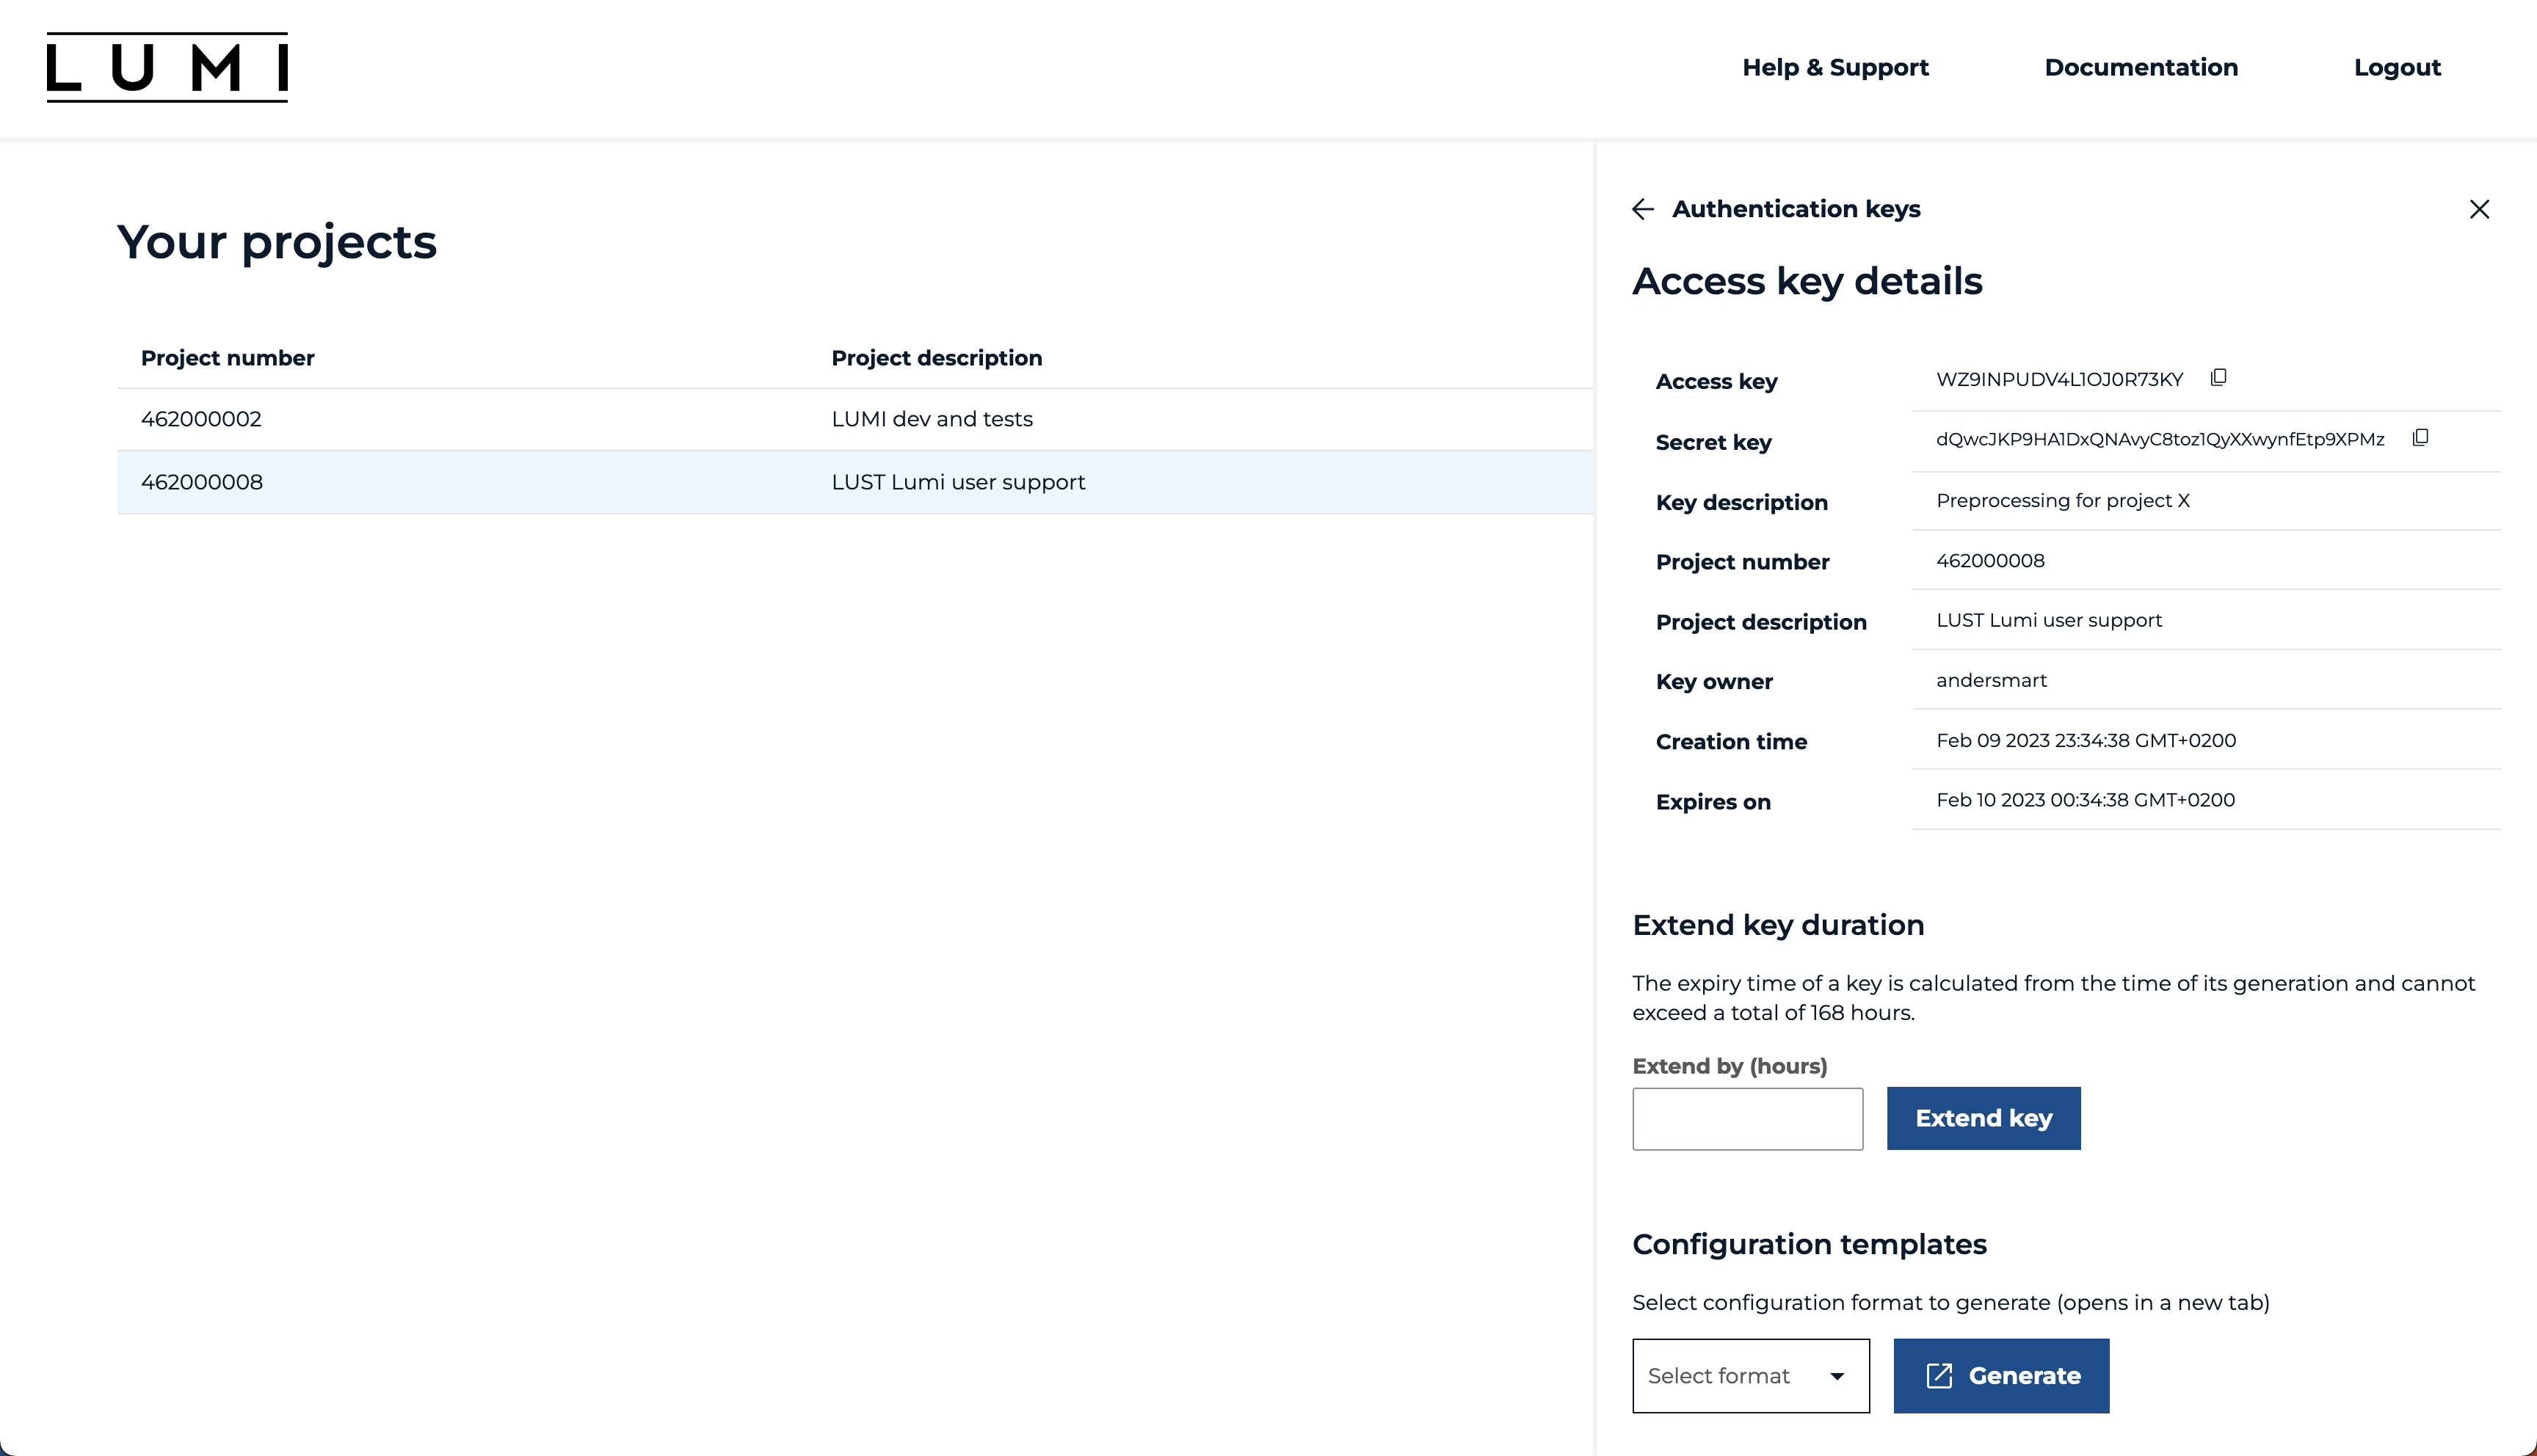
Click on the newly generated Access key. This opens up the key's content. It provides the necessary "Access key" and "Secret key". You can also see the key description, which project said key is related to, owner of the key and finally Creation and Expiry dates.
From this side menu, it is also possible to extend the duration of the key. When you create a new key, the maximum initial lifetime that can be set is 1 year.
It's also possible to download a configuration template for different object storage clients like shell, boto3, rclone, s3cmd and aws. After selecting the desired object storage client and clicking "Generate" opens the output in a new browser tab.
Finally, by scrolling down in the menu this side menu allows you to delete the key. After deletion of a key, a new one needs to be created to resume utilizing LUMI-O for a certain project. Keys are non-recoverable, but a new one can be created in its place.
Accessing LUMI-O
You can access LUMI-O from any machine or server that is connected to internet. This can be a laptop, supercomputer, virtual machine in cloud or even your phone.
Using the LUMI web interface
LUMI-O can be used via the LUMI web interface.
On LUMI via terminal
Once connected to LUMI, start by loading the module lumio, which provides data transfer tools to use LUMI-O with (rclone and s3cmd). This module also provides an authentication tool lumio-conf to easily set the proper credentials for access.
Next, to automatically set the proper configuration files for access, run the command:
This command asks you to connect with your browser to the LUMI-O credentials
management service, create credentials (as described on top of this page) and then copy
the project number and keys for the setup tool. The setup process will create configuration files for s3cmd and rclone.
After this setup proces is done, you can use the the client tools rclone and s3cmd to manage and transfer your projects data between LUMI filesystem and LUMI-O.
Using the LUMI-O credentials management service, you can also generate configuration files for different object storage clients like shell,
boto3, rclone, s3cmd and aws. This is useful for using LUMI-O from somewhere
else than LUMI, where the lumio-conf set-up tool is not available (The tool can be
downloaded from the LUMI-O repository, but we only officially
support the tool on LUMI)
Other ways to access LUMI-O
In the LUMI-O credentials management service auth.lumidata.eu one can create configuration files associated to valid access tokens. These configuration files specify the details that are needed to access LUMI-O with object storage client tools from anywhere over the internet, and a connection to LUMI is not needed.
To connect to LUMI-O directly e.g. from your own laptop, you need to set a configuration file in your home directory (in your laptop) to a specified location, with valid LUMI-O access keys. See an example with rclone.
Advanced: Credentials & Configuration
This advanced topic is for people, who wish to modify where the client software used with LUMI-O read the authentication credentials. As a basic user, you don't need to care about this topic.
Configuration files
The data moving tools (client software) have default locations for config files under home directory. In some cases it might be required to read credentials from some other location than the default locations under home. This can be achieved using environment variables or command line flags.
| rclone | s3cmd | aws | |
|---|---|---|---|
| DEFAULT | ~/.config/rclone/rclone.conf |
~/.s3cfg |
~/.aws/credentials and ~/.aws/config |
| ENV | RCLONE_CONFIG |
S3CMD_CONFIG |
AWS_SHARED_CREDENTIALS_FILE and AWS_CONFIG_FILE |
| FLAG | --config FILE |
-c FILE, --config=FILE |
The aws cli additionally has the concept of profiles, and you can specify
which one to use using the --profile <name> flag or the AWS_PROFILE environment variable.
Environment variables
Most programs will use the environment variables AWS_ACCESS_KEY_ID and AWS_SECRET_ACCESS_KEY
when trying to authenticate. So these can be set if one does not wish to save the credentials on disk.
The environment variables do not always take precedence over values set in configuration files, as
is the case for s3cmd and rclone. This means that invalid credentials in config files will
lead to an access denied even if there are valid credentials in the environment. The aws command
will use the environment variables instead of ~/.aws/credentials if they are set.
rclone will additionally require RCLONE_S3_ENV_AUTH=true in the environment or env_auth = true
in the config file.
Unless you have properly configured the s3 tools to use LUMI-O, they will usually default to using amazon aws s3. This is also the case for most other programs
so if you wish to use LUMI-O with other software, you usually have to find some configuration option or environment variable to set a non-default
host name. The correct hostname to use for LUMI-O is https://lumidata.eu